Swift is a programming language for creating user interfaces and apps for iOs devices. You can use this tool for creating UI forms, layouts, and controls for the app you create. Forms for ordering apps are best created using Swift UI. It is easy to create a framework for various forms and add functionality to it using this tool.
You can easily manage the data flow and manipulation using this framework. You can create various layouts and controls for those forms and layouts using this tool. If you are good with programming language C, learning Swift is a cakewalk. It is essential to have a programming base to get started with using this programming language.

Pre-coding Requirements
Install Xcode 11 on your mac before you get started with navigating through the framework of the tool. The tool comes with a canvas design where you can drag and drop the elements you need. It also has an in-built previewer to see how the forms and other layouts look.
Syntax
The syntax in Swift is simpler and there is little variation from how strings and variables are used in the syntax to manipulate data. It is easy to create apps for recipes, ordering apps using this programming language because you can choose a wide range of variables and array sets without any duplication. The syntax and coding structure is neat and easy to understand the flow of the code when you get started compared to the C language.
Know-How To Use Xcode
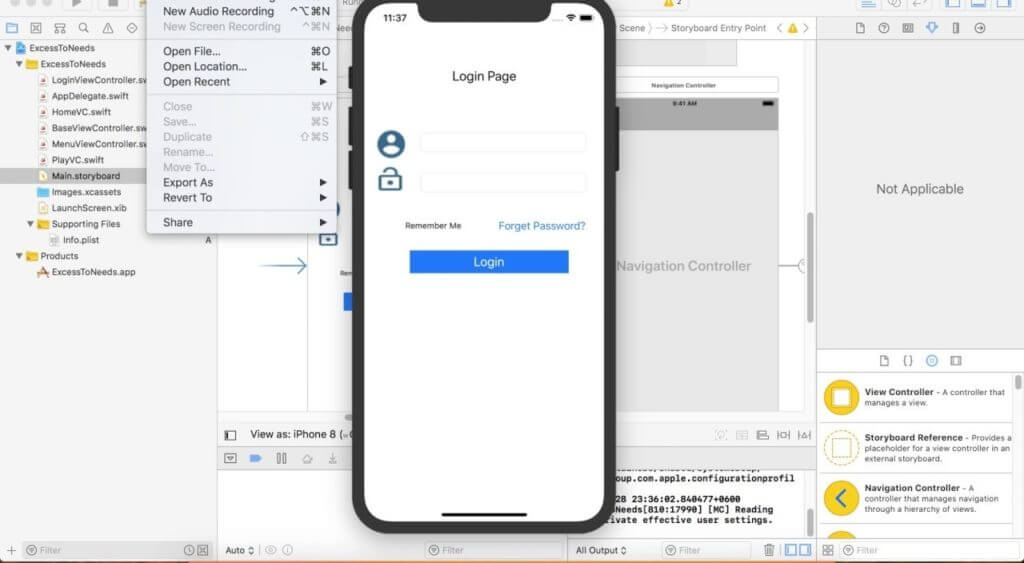
This is a design tool for building UI with Swift. It is user-friendly and easy to use. Xcode is free for download and is easy to set up. This is the first step to be taken to get started with creating forms or building UI for iOS apps. You can use an Xcode simulator to get around navigating the tool before you start using it in real-time. It has 5 different areas you can familiarize yourself with. The toolbar, The Editor Area where you write the code, Utility area, Navigation, and Debug area.
- Organize project files in the Navigation area
- Click on the code for which you want to create forms
- Create and add new files
- Edit the files using the code for building forms
- Run the executables to see how it is integrated with the code of the app
Walkthrough For Creating Form UI
Set up the Xcode tool on your mac and follow these steps for creating forms for the user interface when you are creating an app for iOS devices.
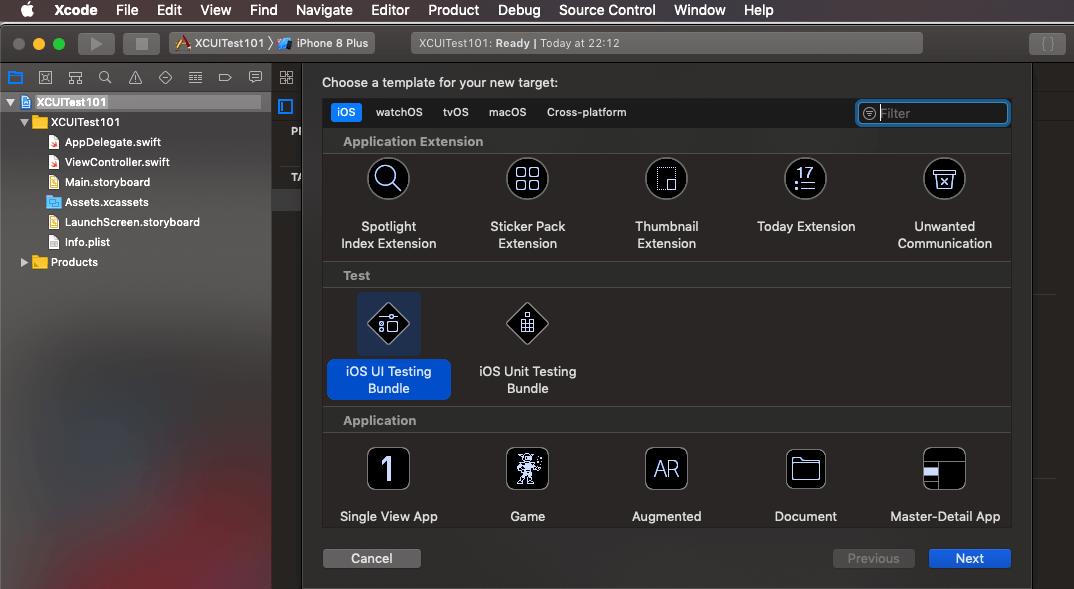
- Create a New Project in the Xcode tool
- Choose the Single View Application template when creating forms
- Use a title for this project to Demo or anything you want
- The USE Swift option must be enabled before you start this new project
- Check the box that says Use Swift on the screen that opens after filling in other details
Steps For Designing Text Fields
Every form has images, text fields, and dimensions that allowed users to fill in the data. This is a simple way to execute text fields when building forms.

- Create a label called Text
- Use the code Text(“Name”).font.(headline). You can change the value of the string “Name” to whatever label name you want to display in the form.
- The Xcode comes with in-built components for creating text fields.
- You can change the background colors and add more parameters in the fields to fill in by using code for a placeholder.
- You can be calling for strings and parameters in the Vstack and make changes to the color in the background and text color making changes in the code in the V stack.
- The code appears on the left-hand side of the canvas and the view of the layout of the forms on the right side of the canvas.
- It is easy to make changes to the code and see how the final output looks in the canvas.
- Choose the web assigned numbers for using colors in the code just like you would for an HTML file.
- Padding, background are the parameters you will use inside the code for Vstack to change the background color.
- You can choose various variables and parameters to adjust the space between the text fields and the box provided to get user input.
- Use the ‘alignment’ parameter in the Vstack code for making changes horizontally or vertically. You can add the parameters for space you need to choose these variables and values.
Extract The Code Instead of Duplicating
You can use the same structure for creating other fields. With the Xcode tool, you can choose to extract the same code instead of duplicating which reduces bugs and redundancy when creating code for various fields.
- Create a block of code using the Struct named type and call in the code of Vstack inside this structure.
- Make changes in the fields that need changes in values, box size, alignment, etc.
- You can reuse the code created with the Struct name type anytime you want to create multiple fields.
- You can add a name for this piece of code you want to reuse such as ‘some view.’ This way you can call upon the variables and layout within the code of ‘some view anywhere in the code, instead of rewriting that particular code again.
- You can create multiple fields at once using the ‘List’ container inside the code.
- Add an image using the Image (“name of the image”) container inside the code. Along with this component, you can add other parameters such as, resizable, scale to fill, frame, height, etc.
- You can choose insets, and other parameters depending on the type of image dimensions you want, fixed or variable.
- Choose the ‘Button’ component inside the code to create buttons on the UI.
- It is easy to call these snippets of code inside the Struct code and execute them.
- Choose dimensions of the buttons and what text will be displayed on the button
- You can add code for its functionality and place it for previewing
- Choose a NavigationView container to embed it with the Navigation interface.
- Add various parameters to the Navigation View and test it.
- You can either preview the UI you created in a simulator or view it in the Xcode Preview area.
Conclusion
It is easy to create form UI with Swift as the Xcode tool framework is user-friendly and easy to use. You need programming experience with languages like C and HTML to have a good understanding of how syntax works and how various pieces of code work together.
Above knowledge was by listening to many audiobooks, as a blogger myself sometimes reading in a hectic schedule becomes tuff, however that should stop for acquiring knowledge. So I’ve started listening to audiobooks while in my free time, going to the office or traveling, spending 20-30 mins every day will give additional experts learnings, I liked it so much that I even started a blog. If you wanna start investing in a knowledge check out my best audiobooks of all time, I’m sure you will like them.
